
How to Install and Configure Your First Instrument
This page should help you learn how to use CAMELS, especially if this is your first time using CAMELS. It shows you how to install a new instrument to CAMELS and how to configure it. We will be using the demo instrument which is pure software implementation of an imaginary instrument. It has 3 settable channels and several channels that can only be read.
1. Installation of Demo Instrument
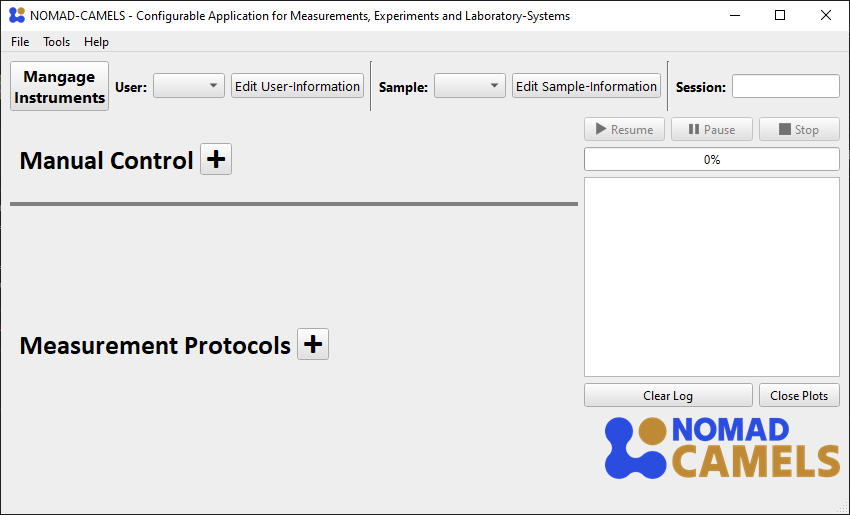
When you first start up NOMAD-CAMELS, you should see something like this:

Clicking on the “Manage Instruments” button will open a dialog where you can install available instruments from the CAMELS repository (PyPI).
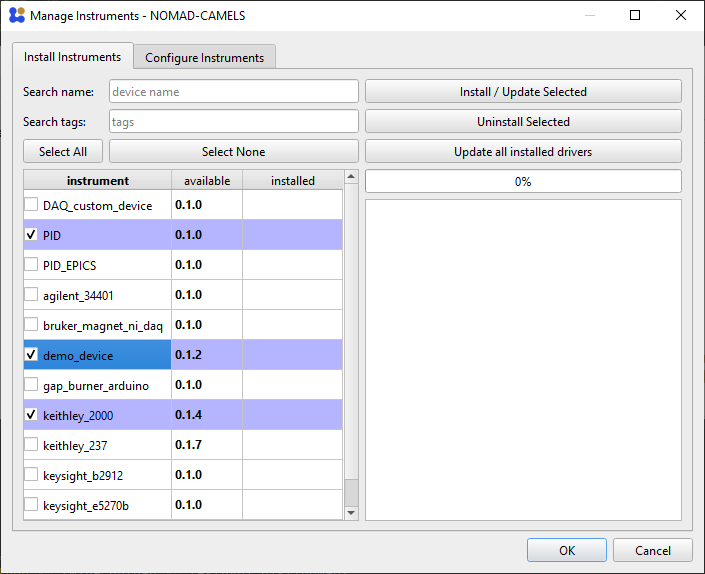
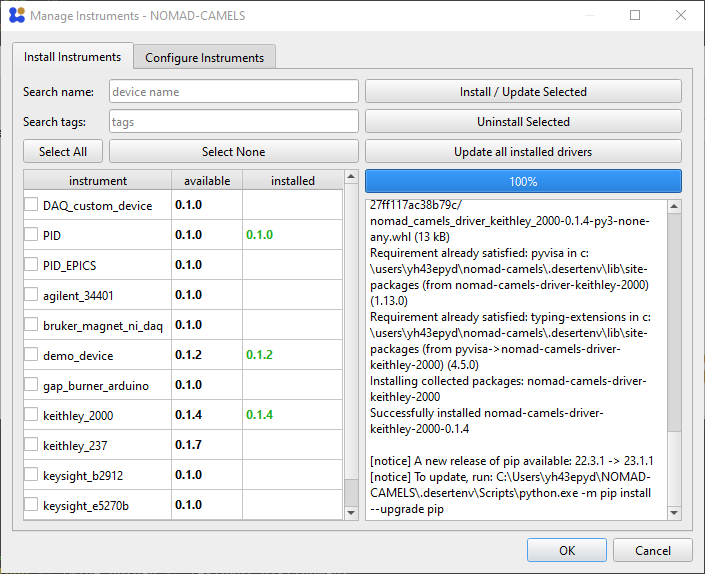
On the left we can see the instrument selection window and on the right you can see the screen after successful installation of the instruments.
Check the instruments you want to install. To follow this example install the
demo instrument.Then click
Install / update Selectedto install the most recent version of the instrument from PyPI (this is done internally with a simplepip install <instrument_name>).
Note
This means you can also use the virtual Python environment .desertenv to manually install instruments by running:
pip install nomad_camels_driver_<parent_driver_name>
Note
For this to work you must activate the correct virtual environment first! Run this code with the correct path in powershell to activate the virtual environment:
cd \Path\to\NOMAD-CAMELS\.desertenv\Scripts\
.\activate
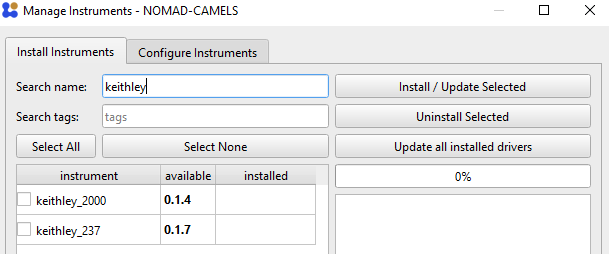
You can also filter the instruments by their name using the Search name field as you see here.
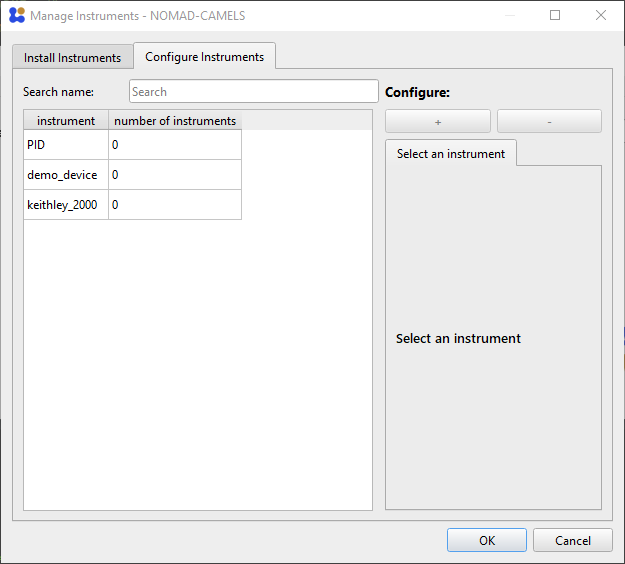
2. Configuring Instruments
After successful installation you can switch to the “Configure Instruments” tab.
Here all the available instruments are listed as well as the number of instances (so ‘actual’ instruments) you have added of the installed instrument type.
For this select the instrument type you want to add and click the ➕ symbol under Configure.
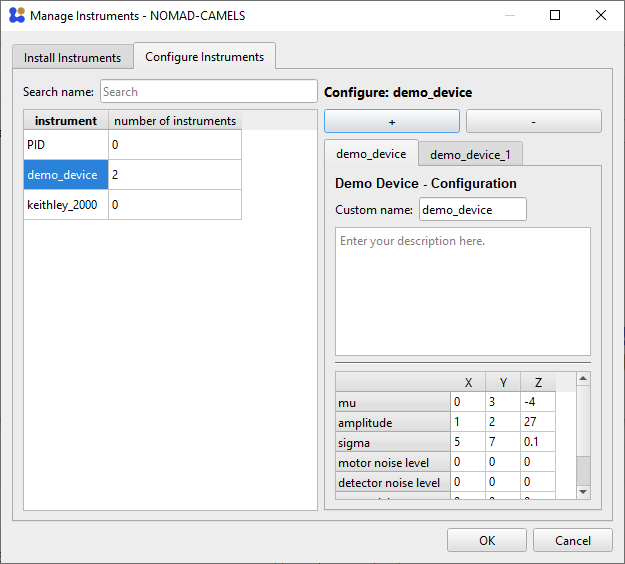
After adding the instrument a new instance of this instrument type is created. You can add as many instances of instruments as you like by pushing the ➕ symbol. This adds additional tabs with the Custom name you gave the instrument. By default, the naming increments a number after the instrument name.
3. Change Instrument Settings
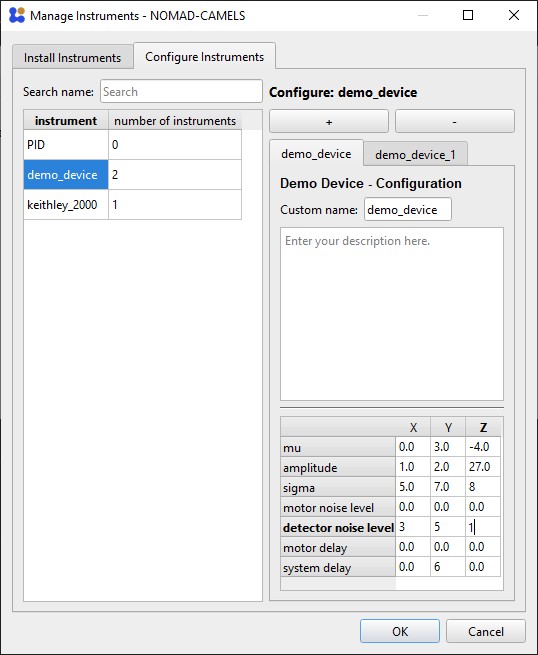
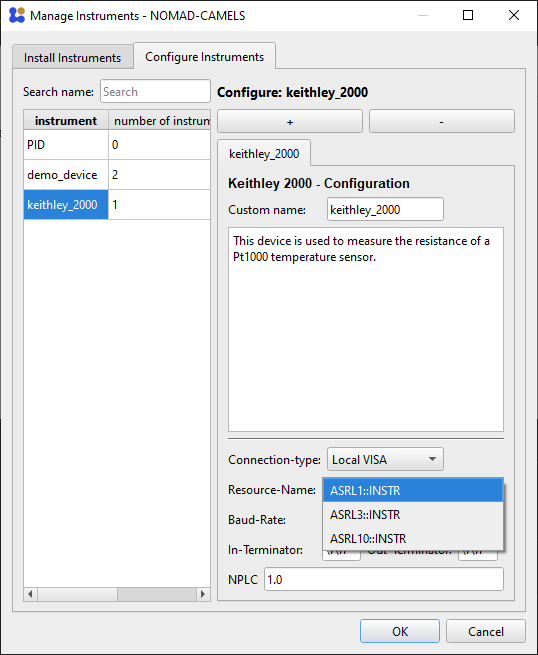
You can then change the instrument settings as you wish.
You can add a plain text description of the instrument and what you are planning to do with it. This is added to the metadata of your measurement when the instrument is used. This can help you better understand what the instrument does for larger project and allows others to better understand your measurement data.
When you are happy with the instruments settings and have added all the instruments required for your measurements you can click OK to save all the instruments and settings to CAMELS.
What’s next?
After adding at least one instrument to CAMELS you now have two ways to control the instrument:
Measurement Protocols
Use it in measurement procedures. How to set up and use measurement protocols is explained on this page.Manual Control
Manually change and control individual channels. This is useful for controlling stages without having to create a protocol. How to use this functionality is explained in more detail in this tutorial.